How to Check for Roof Damage After a Summer Storm

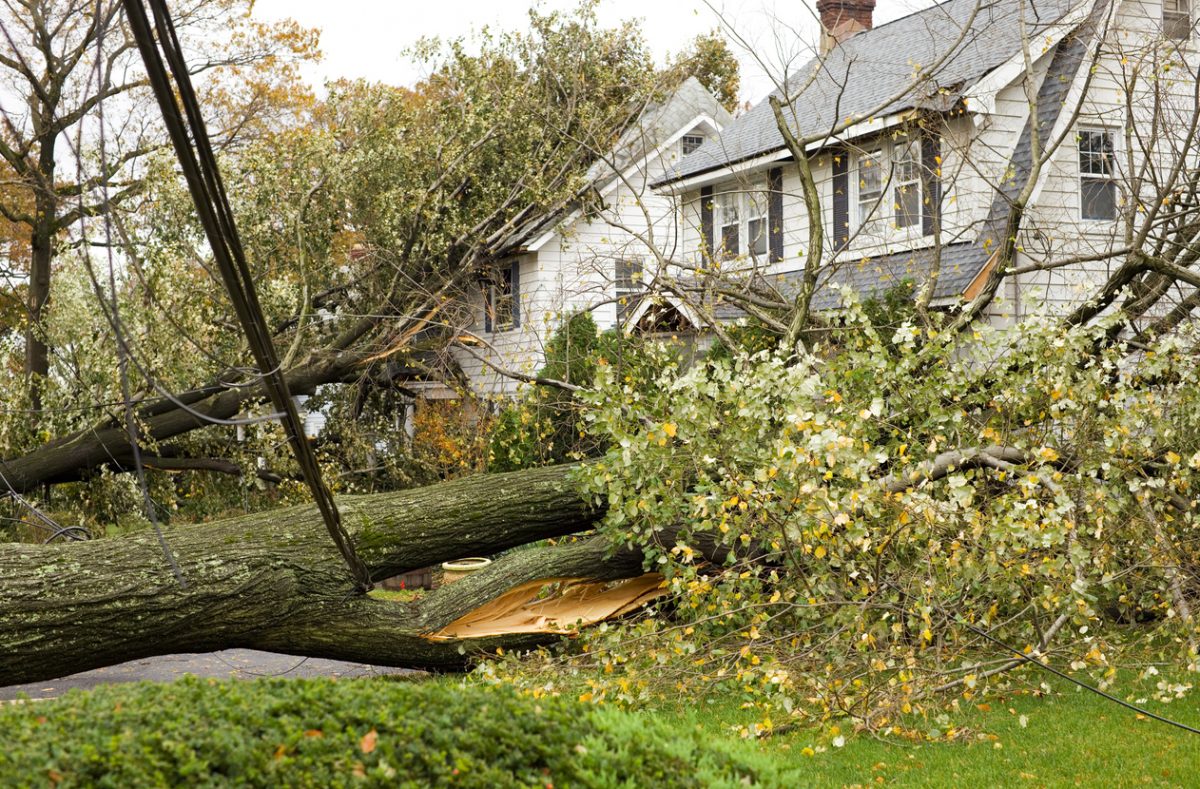
Summer storms can do a lot of damage to your home. High winds, lightning, and heavy rain can all cause serious structural problems to your roof. In the event of a bad summer storm, you need to be able to recognize the signs of damage to your home’s roof. Knowing when the damage has occurred to your roof will help you know when to seek repair from a professional.

1. Moisture and Stains Inside Your Home

After one too many storms, your roof will eventually be vulnerable to leaks. Eventually, the built-up moisture will begin to create small holes in your shingles, which can cause water to leak into your attic and other areas of your home. The best way to tell if your roof has a leak is to check your attic for moisture. If the wood appears darker in some areas, you may have a leak.

Additionally, if you begin to notice a stain on your ceiling, touch the area to see if it is wet. Then, contact a professional to help find the source of the leak and fix it. If the stain is dry, it is likely from a previous leak.

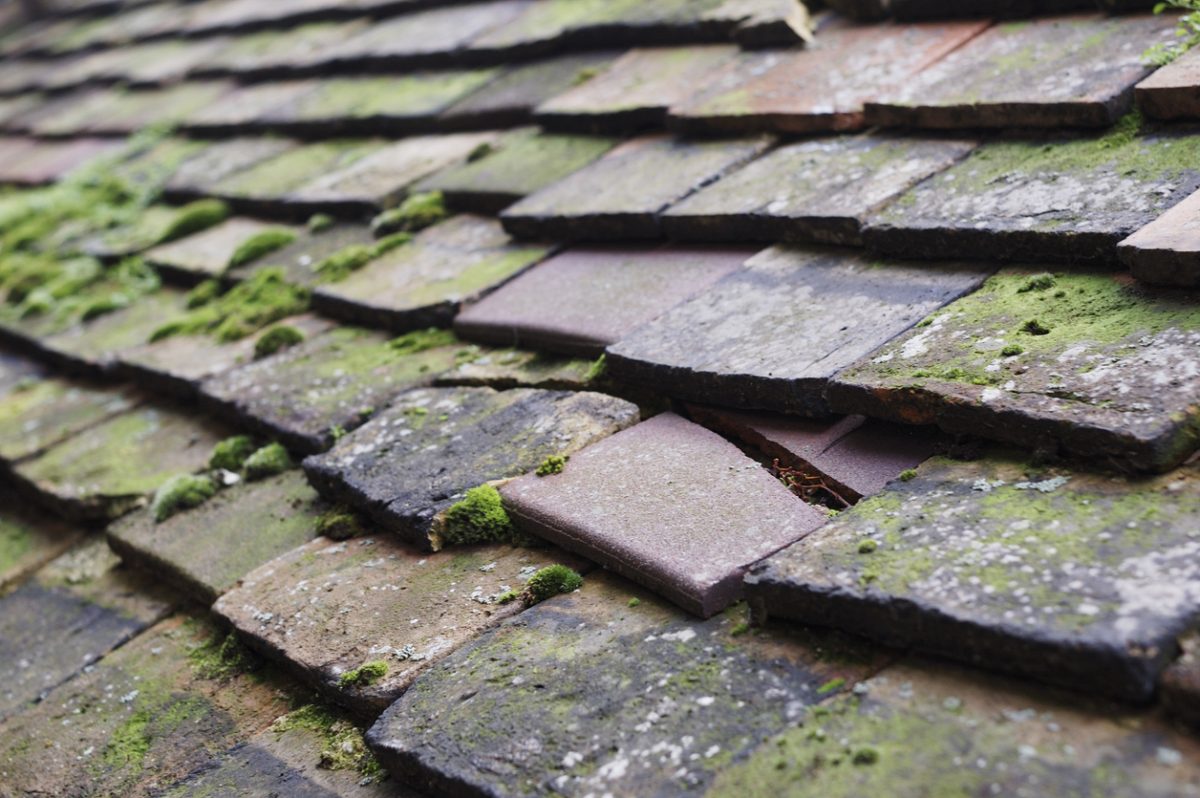
2. Missing or Damaged Shingles

Summer storms usually include heavy winds and fallen trees, and that means some shingles may be missing. Unless the wind gusts were strong enough to carry them away from your home, you will likely see shingles strewn across your yard.

Save these shingles to help your roofer choose the exact match for the new shingles they will install on your roof.

In some cases, your shingles may have been damaged without actually falling from the roof. Call your roofing professional for a maintenance appointment if you see noticeable cracks or rips in your shingles.

3. Check for Gutter Damage

Missing, clogged, or damaged gutter sections are another sign that your roof may be damaged. Inspect your gutters for signs of puddles near the frame of your home, as this will indicate a part of your gutter is missing. Over time, the water at the base of your home will erode away the frame and seep into your house. To avoid this, it’s best to get your gutter fixed as soon as possible.

Contact a Reputable Roofer If You Think Your Roof Has Been Damaged in a Summer Storm

As a homeowner, you can protect your roof and your home by performing regular inspections following summer storms. Never walk out onto your roof to perform an inspection by yourself — leave this to the professionals!

Contact a reputable roofing professional right away if you notice any damage to your roof. Your roofer can help you decide what is wrong with the roof and what needs to be done to repair the damage.

For more information about damage to roofs from summer storms, contact Landmark Exteriors! We will be happy to help you determine if your roof, shingles, or gutters are damaged, and we’ll perform a repair right away. Contact us today to make an appointment!

7 Tips to Properly Power Wash Your Siding

Your home’s siding protects the exterior walls, and it gets dirty and discolored over time. Try these tips for a proper power washing to reveal a brilliant color under that grimy film: 

1. Time it Right

Your siding is ultimately a vertical element, and because of this, it doesn’t attract dust and dirt like other flat parts of the home. Ideally, schedule a professional power washing every two years. This general rule-of-thumb can vary based on your location. Homes that accumulate a lot of snow come winter may require extra attention.

2. Examine the Siding

Take a look at the siding’s condition and age. Siding that’s crumbling from termite damage cannot be power washed, and in fact, will probably need to be replaced. Another concern is age, which includes possible asbestos or lead materials within the siding. If you suspect these substances, contact professionals for an evaluation.

3. Move Exterior Obstacles

Remove any items around the home’s perimeter that might be damaged by water. Move potted plants, barbecues, patio furniture, and similar items from the area. The water that drips down from the siding will be dirty. Don’t give yourself another cleaning duty by leaving these items in place!

4. Prep the Surface

Your siding has a lot of elements included on its surface area. Walk around the structure, and cover those electrical outlets and vents. A better idea is to cut off the electricity entirely to the outlets. Cover your deactivated HVAC system too. 

5. Test the Tool

Always test the tool away from the siding. Hook it up to your water supply. Point the nozzle at a sidewalk or street. Turn on the water. Verify that you have a strong spray by cleaning the ground a bit. Alter the spray’s strength if necessary.

6. Spray Like a Professional

Activate the tool so that the spray is about a yard away from the siding’s surface. Watch how the grime falls away. Alter your position if you need to get a bit closer to remove the film. Start at the top of the home, and use a side-to-side motion with the tool. 

7. Verify the Cleanliness Factor 

Walk around the home. Examine the siding for its overall cleanliness. Document any damages that might have occurred during the cleaning. In most cases, the siding is clean and merely needs to drip dry.

Need to Schedule a Power Washing or Siding Estimate?

Contact Landmark Exteriors for your siding, roofing, and gutter needs today. Our experts examine, quote and fix issues before they worsen over time. Keep up with your power-washing chores while leaving the repairs to Landmark Exteriors!

Preventing Moss on Your Roof

Moss roots can lift up shingles, create leaks in your roof, and breed bacteria that can cause health concerns for your family. While not all mold poses a health risk, some are harmful, especially for older people, children and those who suffer from asthma and respiratory problems.

How to Prevent Moss Growth on Your Roof

Moss commonly thrives in damp, shady environments, making your roof a prime location for it to grow. You can prevent moss growth on your roof by taking a few simple measures:

  • Cut back overgrown trees to ensure your roof isn’t completely shaded, allowing for sunlight to dry up any moisture.
  • Keep your roof free of debris through regular roof maintenance and cleanings.
  • Use zinc strips to prevent the future growth of moss. These strips can be nailed along with the ridge caps at the peak of your roof. Additionally, when it rains, the zinc will be released onto your roof and inhibit any moss growth.

Similar to algae, if you have moss on your roof, you should contact a professional to remove it. Not only is walking on your roof dangerous, but it can be harmful to your health should you come in direct contact with the moss. 

Call a Professional to Remove Moss 

At Landmark Exteriors, we’ll employ one of the following tactics, or a combination, to rid your roof of moss:

  • Scraping the moss off by hand by using a pressure washer and a hand scraper. This will remove any large areas of moss.
  • Bleach the moss away. While bleach will kill the moss, it may also discolor your roof because of its corrosive properties. 
  • Spread moss control powder. This is one of the best ways to prevent and remove moss from roofs. The powder is made from zinc sulfate and does no damage to your roof. However, moss control powder has the potential to be harmful to wildlife and vegetation.
  • Replace damaged shingles. If your roof is severely damaged, it may be time to replace the lifted or damaged shingles.

At Landmarks Exteriors, our professionals are here for all your roofing needs! Large or small, we take care of everything from routine maintenance items to emergency roof repairs. Contact us today to see how we can help!